Honey Extraction
Delicious! A frame of capped honey is a wonderous sight. In 2005 we harvested honey for the first time. Since our hives had only been in place for a few months we weren't expecting any honey for our family. We anticipated that the bees would need to keep whatever they produced for themselves. Much to our surprise Mother Nature produced a small surplus and we had the experience of extracting and bottling 16 pounds of gorgeous honey.
In 2006, the story was different - our 2 hives yielded over 100 pounds of honey. The following illustrates how the honey goes from hive to bottle.
Step 1: Add Honey Supers to the Hives.
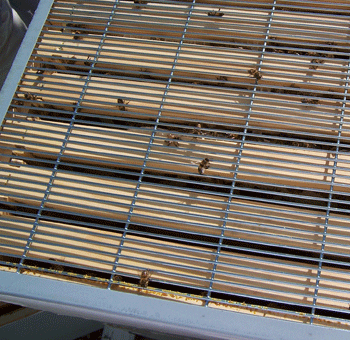
Around April, about 4 months before we expect to harvest the honey, we put empty honey supers on the hives. They are separated from the rest of the hive by a grate called a queen excluder. The spacing of the bars is such that a worker bee can move through, but a queen bee cannot. Since the queen bee cannot move into the honey supers there is no chance that you will get brood (eggs or larvae) mixed in with the honey. Not all beekeepers use them, believing that they diminishes the overall honey produced by the hive, but we prefer to use them. It allows us to inspect and remove the honey supers without fear of damaging or losing the queen.
Step 2: Let the Bees Do Their Stuff
For the next four months the bees will take advantage of the spring nectar flow to build up large stores of honey.
Step 3: Get the Bees Out of There!
Before you can take the honey frames into the house to extract the honey you need to remove the bees from the honey supers. There are three typical methods for doing this. One method is to "stink" the bees out of the super by placing a pad saturated in a fluid that the bees dislike on the top of the supers. After a short while the bees have all moved down and the supers can be removed. Another method is to simply blow the bees out of the super with a strong air blower. The final method, and the one that we used is to put one-way doors under the honey supers. These are called bee escapes and are designed with a little copper strip that acts as a trap door. The bee can push through it, but cannot get back in.
The morning of the harvest we lift the (heavy) honey supers 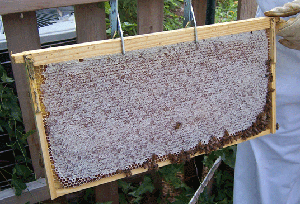 off the hive put an empty super on top of the queen excluder, a board with the bee escapes on top of that, and then replace the honey supers on the very top. The empty super under the bee escapes gives the bees that are being moved out of the honey supers some extra space. After about 8 hours we went back to the hives and removed the honey supers. By this time there were just a few bees on the frames. The picure shows one of the frames after the bee escapes were used.
Step 4: Bring in the Supers
With the honey supers removed from the hive, the next step was to bring the frames into the house. We brushed the few remaining bees off of the frames and carried them into a waiting tray. A filled frame weighs 7 - 8 lbs and with 9 frames per super each box weighed about 65 lbs. It is a two-person job. 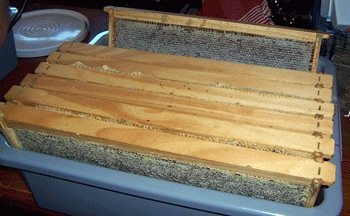
By using only 9 frames per super (which can hold 10) results in thicker comb. 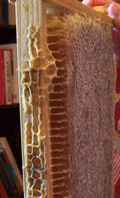 The photo to the right is a side view of one of the frames illustrating the thickness of the comb. In addition to providing a better honey to beeswax ratio, it makes hand uncapping a lot easier. The frames in this super were new when we put them on the hives earlier in the year so the bees not only filled the cells with hony, they had to draw them out from the foundation. That is a lot of work and uses up a great deal of hive energy. Next year they will have the empty comb from this year to use, so they can concentrate their energy on honey production.
Step 5: Uncapping the Cells
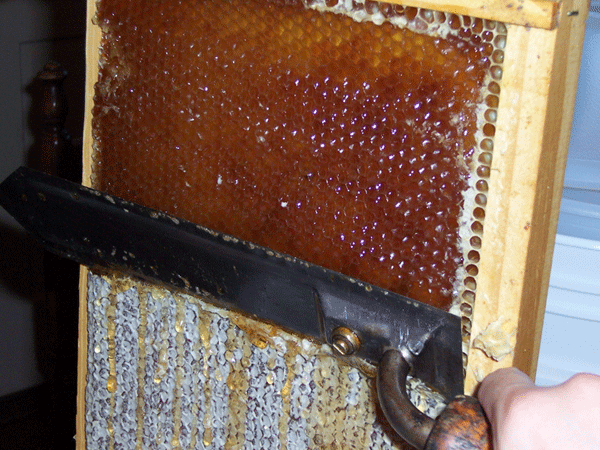
Since we use wax-coated plastic foundations, we cannot cut the comb out with the honey inside. Instead, we uncap the cells and spin the honey out in an extractor. To uncap a frame, we place it upright in a tray and using an electrically-heated uncapping knife to cut the melt the tops of the cells off. The honey drips and wax cappings that fall off are caught in the tray for later use. You can see how the cappings are melted down here.
Step 6: Extraction
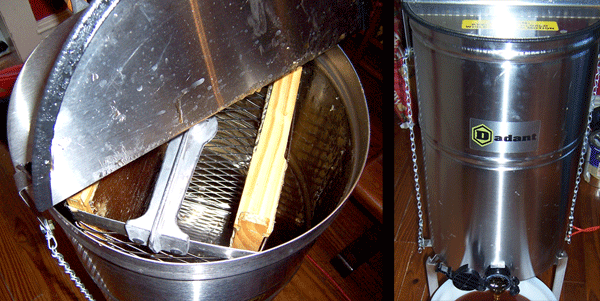
Once the frames are uncapped (both sides) the frames are placed in the honey extractor. The extractor (shown from above and from the front in the photo below) has a crank on the top that spins the basket, flinging the honey to the sides of the tank. After spinning for a few minutes, the frames are removed and flipped to do the reverse side. Ours is a two-frame model. Larger extractors can hold 50 or more frames and are designed so that frames can be placed radially, removing the need to flip the frames since both sides are done at the same time.
Step 7: Straining and Settling
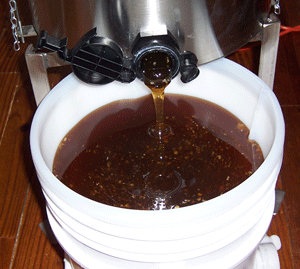
As the extractor's tank fills, the honey is drained off into bottling buckets. The top of the buckets are fitted with strainers to catch loose wax cappings, bee parts, large chunks of pollen and other extraneous bits we want to keep out of the final product. The honey is allowed to settle to permit air bubbles to rise to the surface,
Step 8: Bottling
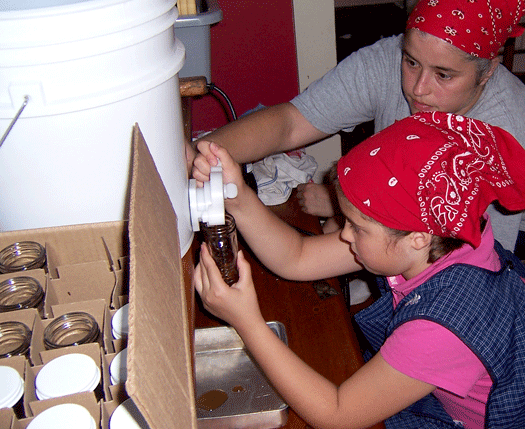
Finally, our crack team of honey bottlers fill the jars with honey, and we start planning for next year!
